How to Build an App for Free: A Complete Beginner's Guide
A complete beginner's guide for founders, makers, and non-technical builders who want to ship a real product — without writing a single line of code.
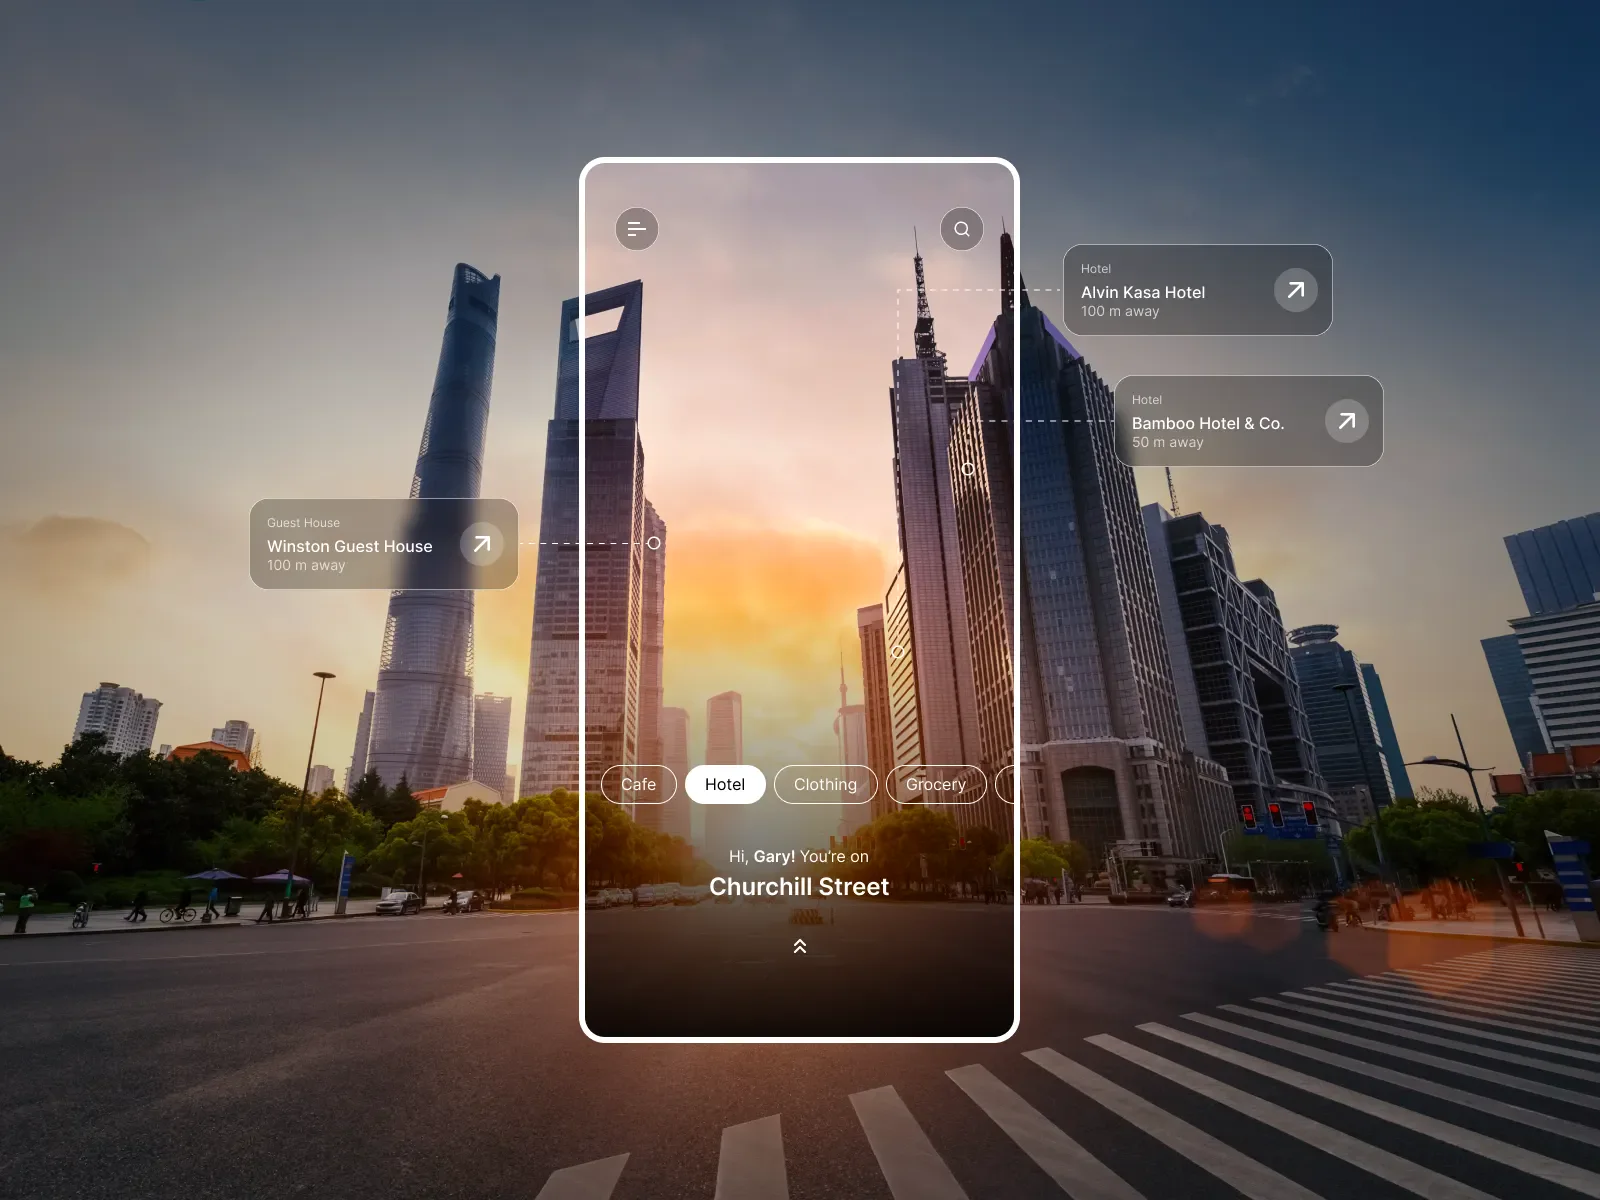
Before you choose a platform or write a single workflow, you need to decide what type of app you're building. This choice affects your publishing cost, your time to market, and the audience you can reach from day one.
Web App vs. Native App vs. PWA
| Type | Cost to Publish | Best For | Example Platforms |
|---|---|---|---|
| Web App | $0 | SaaS, dashboards, internal tools | Bubble, Glide, NxCode |
| PWA | $0 | Mobile-feel web app installable from browser | Glide, Adalo (web) |
| Native iOS | $99/year (Apple Dev account) | App Store listing, native iOS features | Thunkable, Adalo |
| Native Android | $25 one-time (Google Play) | Google Play listing | Thunkable, Adalo |
Start with a web app. Ship faster, cost nothing to publish, iterate in real time. Go native only after you've validated demand — when real users are asking for the app on their home screen.
In 2026, you don't need to know how to code to build a working app. AI-powered no-code platforms let you describe what you want in plain English and generate a functional application — with a database, user authentication, payments, and a real URL — in hours. The question is no longer "can I build this?" but "which tool should I use and what's the right way to build it?"
This guide answers both questions. It's structured as a 7-step process (plus a monetization step) that takes you from blank-slate idea to a live, public app. Every platform mentioned has a free tier. Every step has a time estimate. Nothing here requires a computer science degree.
What you will need: a clear problem you're solving, three to five hours of focused work, and a willingness to launch something imperfect. Done beats perfect every time — especially for version one.
Define Your App's Purpose
Most no-code apps fail before the first workflow is built — because the builder didn't know exactly what they were building, or for whom. Before you touch any platform, you need answers to four questions. This step is deceptively hard. Thirty minutes of clear thinking here saves eight hours of confused building later.
The One-Sentence Pitch
Write this down, in this structure:
"My app helps [specific audience] do [specific action]
without [existing frustration or barrier]."
If you can't complete that sentence without hedging, you're not ready to build. The clarity of your idea is the ceiling of your app's usability. Vague ideas produce cluttered apps that don't convert.
Define 3 Core Features Maximum for V1
Three features. Not six. Not "three main ones and a few small ones." Three. Your MVP (Minimum Viable Product) should do exactly one thing well — the core action that creates value for your first user. Everything else is future roadmap.
A booking app needs: a booking form, a confirmation email, and a calendar view. That's it. Payments, reviews, staff scheduling, promo codes — that's version two, after you know people actually want to book.
The 60-Second User Test (On Paper)
Before building, walk through this scenario in your head: your first user opens the app. They have never heard of you. What is the first screen they see? What do they click? What action do they take? What happens next? Are they done in 60 seconds?
If you can't narrate that journey clearly, your app isn't defined yet.
If you can't explain your app in one sentence, you're not ready to build. Complexity at the definition stage always compounds into confusion at the building stage. Simplify the idea, not the execution.
Choose Your No-Code Platform
Choosing the wrong platform is the most common mistake first-time builders make. Each platform has a sweet spot — a type of app it was designed to build well. Using a mobile-native builder for a SaaS dashboard, or a simple database tool for a complex marketplace, will get you stuck fast.
Below is an honest breakdown of the five platforms most worth your time in 2026:
Bubble and NxCode both target SaaS, but they solve different problems. Bubble is a visual logic engine — you build the workflows yourself, node by node, which is powerful but has a steep learning curve. NxCode is prompt-first: you describe the app in plain English and it generates the database, backend, and UI for you, then you refine from there. If you want fine-grained control and don't mind a longer ramp-up, start with Bubble. If you want the fastest path to a working MVP and are comfortable handing over more of the implementation to AI, start with NxCode.
Match the platform to your app type. Don't use a mobile builder for a SaaS dashboard. Don't use an Airtable-based tool for a complex marketplace. Read the "best for" column and trust it — platform mismatches cause more abandoned projects than difficulty ever does.
Not sure which to pick? Start with Glide if your data is already in a spreadsheet. Start with Bubble if you're building anything with complex workflows, multi-user logic, or payments. Start with Softr if you want a client portal or directory. The Zapier no-code builder roundup is also worth a read for a second opinion.
Start from a Template
Every major no-code platform ships with a template library. These aren't just pretty starting points — they're pre-wired applications with working page layouts, navigation structures, database schemas, and authentication flows already connected. Starting from a template on your first build is not cheating. It's common sense.
What Templates Give You Out of the Box
- Page layouts: Homepage, sign-up/login, dashboard, detail pages — all structured correctly
- Navigation: Header, side nav, or bottom nav — already built and linked
- Database schemas: Pre-defined data tables (users, posts, orders, etc.) with correct field types
- Auth flows: User registration, login, password reset — wired up and working
- Responsive structure: Mobile and desktop layouts already considered
How to Use a Template Correctly
The mistake first-time builders make: they try to build around the template instead of modifying it. Pick the template closest to your use case, then change it. Delete what you don't need. Rename what doesn't fit. Restyle it with your brand colors and fonts. Do not start from a blank canvas on your first build.
Template Starting Points by App Type
- E-commerce template → online store with product listings, cart, checkout
- Task tracker template → productivity tool with lists, assignments, due dates
- Directory template → community app with profiles, search, category filters
- Booking template → service business with calendar, availability, confirmations
- CRM template → client management with contacts, notes, pipeline stages
Spend 15 minutes browsing templates before you commit to one. A well-chosen template removes 60-70% of the structural work from your build. The time you spend choosing is the highest-leverage 15 minutes in this entire process.
Design Your App
Design at MVP stage is not about beauty. It's about clarity. A well-designed MVP communicates what to do without requiring explanation. It gets out of the user's way. The goal is not to impress — it's to remove friction between intent and action.
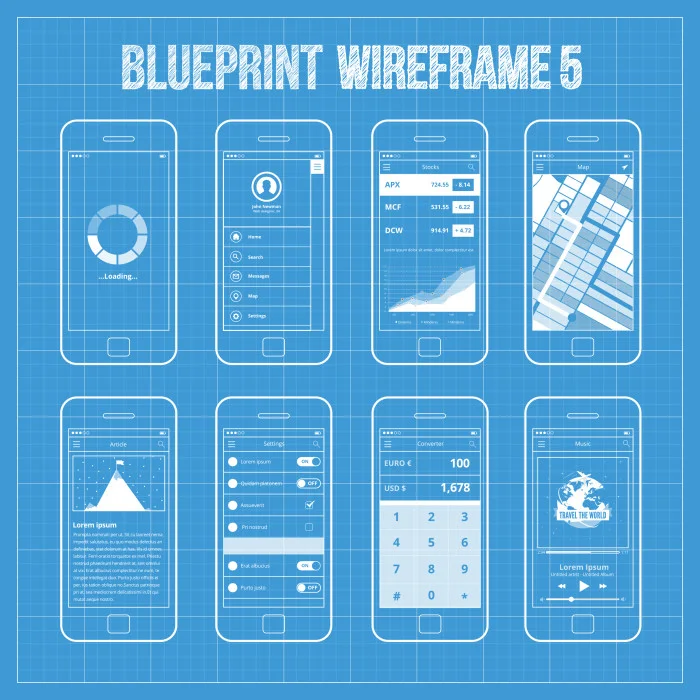
Wireframe first. Sketching every screen as a plain box layout surfaces navigation problems before you have built anything expensive to change.
Five UX Principles That Matter at MVP Stage
Accessibility Quick Wins
Accessibility is not a stretch goal — it's part of basic usability. These three rules cover 80% of the issues you'll encounter:
- Minimum 4.5:1 contrast ratio for all body text against its background (use the WebAIM contrast checker)
- Touch targets minimum 44×44px — buttons, links, and interactive elements must be large enough to tap without error on mobile
- Don't rely on color alone to convey meaning — always pair color with text, icons, or shape to communicate state (error, success, warning)
Your first users will forgive an ugly app. They will not forgive a confusing one. Invest your design time in clarity and flow — not gradients and custom illustrations.
Build Core Features
This is where the actual building happens. Most no-code platforms use a visual editor — drag and drop components, connect data sources, set up logic flows, and configure conditions without writing code. The work is real, and it takes time, but the feedback loop is immediate: change something and see it update in real time.
Must-Have Features for Most Apps
- User auth. Sign up, log in, password reset. Almost every no-code platform includes this out of the box. Enable it in settings, customize the screens, and move on. Don't build your own auth system.
- Database / data model. What are you storing? Define your data tables: Users, Products, Posts, Bookings, Orders — whatever fits your app. Define the fields for each. Get this right before you build screens around it; restructuring your data model mid-build is painful.
- CRUD screens. Create, Read, Update, Delete. These four operations are the skeleton of most apps. A form to create a record, a list to read records, an edit screen to update, and a delete action. If your platform has a template for this pattern, use it.
- Role-based access. Who can see what? At minimum: distinguish between regular users and admins. Most platforms support this with a user role field and conditional visibility — "show this button only if user role = admin."
Feature Priority Checklist
Build the checked items first. Ship. Then build the unchecked items based on what real users actually ask for.
- User registration & loginBuild first
- User profile pageBuild first
- Core action (the thing your app does)Build first
- Basic dashboard / results screenBuild first
- Social features (follows, comments, likes)Post-launch
- Advanced search & filtersPost-launch
- In-app analytics & reportingPost-launch
- Notifications (push / email / in-app)Post-launch
- Admin panel & moderation toolsPost-launch
The best feature you can build is the one that gets you to launch. Every feature you add before your first user is a feature built without any real data about what people actually need. Build the core. Ship it. Then listen.
Test Thoroughly
Testing is the step most first-time builders rush — or skip entirely. This is the mistake that turns a promising launch into an embarrassing one. A broken core flow on launch day doesn't just frustrate users; it trains them never to come back.
Your Testing Checklist
- Click every button in the app. Every single one. Does every action produce the expected result? No dead ends, no broken workflows, no buttons that do nothing?Do this
- Test on mobile AND desktop. Open it on your phone, on a tablet if you have one, and on two different browsers on desktop. What looks fine in the builder often breaks in real conditions.Do this
- Create 3 test accounts. Simulate a new user encountering the app for the first time. Simulate a power user who uses every feature. Simulate an edge case user — someone who does something unexpected.Do this
- Try to break it. Submit empty forms. Upload the wrong file type where a specific type is expected. Paste 2,000 characters into a single-line text field. Click the back button mid-flow. These are things real users will do.Do this
- Share with 3 real people. Not your mother, not your best friend who will be encouraging. People who have no stake in your success. Watch them use it without giving any instructions. Don't explain anything. Just observe. Take notes.Do this
- The 2-of-3 rule: if 2 out of 3 testers are confused by the same thing, it's not a user error — it's a UX bug. Fix it before launch.Rule
The goal of testing isn't to confirm your app works. You already believe it works — that's why you built it. The goal is to systematically find the places where it breaks, confuses, or fails for someone who is not you. Approach testing with a bias toward finding problems, not proving correctness.
Publish and Promote
Launch day is not the finish line. It's the starting line. Everything before this was preparation — now you find out if the problem you solved is one other people actually have. Here's how to do it right.
Publishing Your App
- Get a custom domain. A URL like
myapp.bubble.iocommunicates "I built this in an afternoon." A URL likemyapp.comcommunicates product. Custom domains cost $10-15/year from Namecheap, Squarespace Domains (Google Domains migrated here after shutting down in 2023), or Cloudflare Registrar (at-cost pricing, no markup). It's the highest-ROI dollar you'll spend on launch. - Connect your domain. In your platform's settings, find the custom domain section. You'll add a CNAME record pointing to your platform's servers. Most platforms walk you through this step-by-step. It takes 15 minutes and DNS propagates within an hour.
- Build a landing page before you launch the app. Even one page with: a clear headline explaining what your app does, who it's for, one call-to-action (sign up, try for free, join the waitlist), and an email capture. Visitors who land on a login screen with no context will leave immediately.
Where to Announce Your Launch
- Product Hunt — Submit on a Tuesday, Wednesday, or Thursday morning (PT). Write a genuine maker comment. Engage with every comment you receive. A well-prepared Product Hunt launch can drive thousands of visitors in 24 hours.
- Hacker News (Show HN) — Post "Show HN: [App Name] — [one sentence description]". HN audiences are technical and skeptical, but early adopters and potential advocates. Be honest about your MVP's limitations.
- Relevant subreddits — Find communities where your target user already hangs out. Don't spam. Read community rules. Provide genuine context about what you built and who it's for.
- Indie Hackers — Share your build journey, not just the finished product. The IH community is particularly receptive to transparent, process-focused posts from solo founders and small teams.
Post-Launch: The First Month Matters Most
- Track daily active users and key actions. Most no-code platforms include built-in analytics. Watch what people do, not just whether they sign up. Drop-off point analysis is more valuable than total user count.
- Add a feedback widget. Hotjar's free tier includes basic recordings and heatmaps. Even simpler: add a "Send feedback" link that opens an email. You'll be surprised how many early users will write to you if you make it easy.
- Iterate weekly in the first month. Weekly, not quarterly. Ship improvements fast. Show users the app is alive and that you're listening. This builds trust and retention simultaneously.
- Build in public. Post what you're building on X, LinkedIn, or wherever your potential users spend time. Document the process — challenges, user feedback, improvements. Audiences follow journeys. You're not just building an app; you're building an audience for it.
Most apps don't fail because of bad code or bad design. They fail because not enough people heard about them. Your product is only as good as your ability to get it in front of the people who need it. Distribution is a skill. Start practicing it on day one.
Monetize Your App
Building for free doesn't mean you can't charge for your product. In fact, some of the most successful SaaS businesses started entirely on no-code platforms with free tiers. Monetization is a product decision, not a technical one. Here are the five models most relevant to no-code apps:
| Model | How It Works | Best For |
|---|---|---|
| Freemium | Core features free, advanced features behind a paywall. Users upgrade when they outgrow the free tier. | SaaS, productivity tools, any app with power users |
| Subscription | Monthly or annual recurring payment for continued access. The most predictable revenue model. | Any app that delivers ongoing value — project tools, content platforms, services |
| In-App Purchases | Users pay for specific features, credits, or content items inside the app. | Games, content apps, template marketplaces |
| Advertising | Display ads via a network (Google AdSense, etc.). Revenue scales with traffic volume. | High-traffic content apps, directories, media tools |
| Lead Generation | The app itself is free; it drives users to a paid product, service, or consultation. | Agency tools, booking apps, B2B tools with a services component |
The most common choice for no-code SaaS MVPs: start with a freemium model. Give away enough to demonstrate real value. Charge for the features that power users actually need. Stripe can be integrated with Bubble, Glide, and most other major platforms via a plugin or native integration — no code required.